How to Raise Handlebars on a Road Bike?
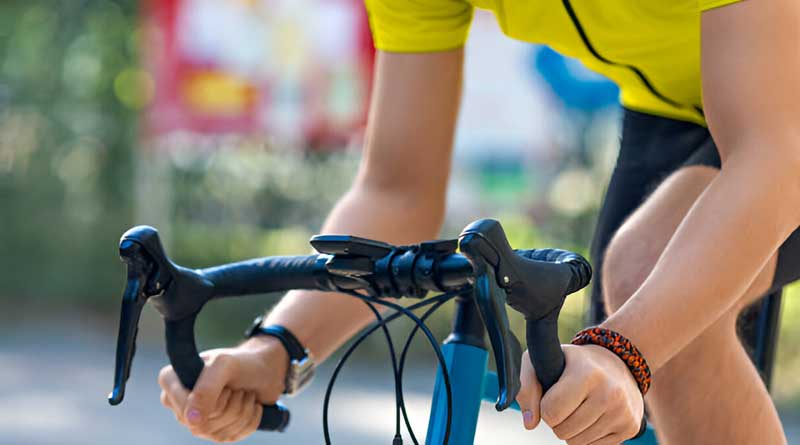
Raising the handlebars on a road bike can make your ride more comfortable. It helps reduce strain on your back and neck. Many riders find the bent-over position too low. Raising the bars can fix this. It’s also helpful for beginners who want a more upright position. This article will show you how to raise the handlebars step by step. You don’t need to be a bike expert. With simple tools and clear steps, anyone can do it. We’ll explain the types of handlebars and what tools you need. You’ll also learn how to adjust them safely. Let’s get started and make your ride better.
Why Raise the Handlebars?
Before you start adjusting your bike, it’s important to understand why you might want to raise the handlebars. Road bikes often come with low handlebars for a more aggressive, aerodynamic riding position. However, this position might be uncomfortable for some riders, especially for those who experience back pain, neck strain, or wrist discomfort. Raising the handlebars can create a more upright riding position, which reduces strain and increases comfort.
This adjustment can be particularly helpful for beginners, long-distance cyclists, or anyone looking to improve their riding posture. It’s also a good idea if you’re experiencing discomfort from your current riding position.
Tools You’ll Need
To raise the handlebars on a road bike, you’ll need a few simple tools. These tools are commonly found in any cyclist’s toolbox. Here is what you’ll need:
-
Allen wrenches (also known as hex keys)
-
A bike stand (optional, but it makes the process easier)
-
A measuring tape or ruler (to ensure accurate adjustment)
Make sure you have the correct size Allen wrench for the bolts on your bike. These bolts are typically located on the stem, the part that connects the handlebars to the frame.
Step-by-Step Guide to Raising Handlebars
Step 1: Secure the Bike
Before making any adjustments, make sure your bike is stable. If you have a bike stand, place your bike on it. This will hold the bike steady while you work. If you don’t have a stand, you can lean your bike against a wall or place it on the ground.
Step 2: Locate the Stem Bolts
The stem is the part that connects the handlebars to the fork of the bike. It’s also where you’ll find the bolts that control the height of the handlebars. These bolts can be at the front or the top of the stem, depending on your bike.
Using an Allen wrench, loosen the bolts on the stem. Be careful not to remove the bolts completely, as they only need to be loosened enough to allow the adjustment of the handlebars.
Step 3: Adjust the Spacer Stack
Many road bikes have a stack of spacers beneath the stem. These spacers are small rings made of metal or plastic. By raising the stem, you can add more spacers under it to increase the height. To raise the handlebars, remove the top bolt and carefully slide off the stem. Once the stem is off, you can add or rearrange spacers to raise the height.
If your bike doesn’t have enough spacers, you might need to purchase extra spacers. This is common in bikes that have a very low initial setup.
Step 4: Reinstall the Stem
Once you’ve added the spacers or raised the stem, carefully slide the stem back onto the fork. Ensure that the stem is positioned correctly and that the handlebars are aligned straight. After the stem is in place, tighten the bolts gradually. Start by tightening the top bolt a little at a time, then move to the other bolts. This will help keep the stem securely in place.
It’s important not to overtighten the bolts, as this could damage the stem or fork. Consult your bike’s manual for the recommended torque specifications.
Step 5: Check the Alignment
After tightening the bolts, double-check the alignment of the handlebars. They should be straight and in line with the front wheel. Stand over your bike and look at it from the front to ensure everything is aligned properly. If you notice that the handlebars are crooked, loosen the bolts again and make the necessary adjustments.
Step 6: Test Ride the Bike
After making the adjustments, it’s important to test ride the bike to make sure the handlebars are at a comfortable height. Go for a short ride and pay attention to how the bike feels. You should notice a more relaxed and comfortable riding position.
If the handlebars feel too high or too low, you can make further adjustments. It’s not uncommon to tweak the height a few times before finding the perfect fit.
Things to Keep in Mind
While raising the handlebars can improve comfort, it’s important to keep a few things in mind. Raising the handlebars too much can affect your bike’s handling and stability. It’s essential to find a balance between comfort and performance. You may want to experiment with small adjustments and see how your body responds.
Also, remember that adjusting the handlebars may affect your riding posture. A more upright position can relieve strain on your back and neck, but it might also reduce your aerodynamic efficiency. If you’re a competitive cyclist or you ride at high speeds, you may want to keep your handlebars in a lower position for a more aerodynamic advantage.
When to Seek Professional Help
If you’re unsure about raising your handlebars or if you don’t feel confident in making the adjustment yourself, consider visiting a local bike shop. A professional bike mechanic can make the necessary adjustments quickly and safely. They can also help you determine if the current setup is best for your body type and riding style.


